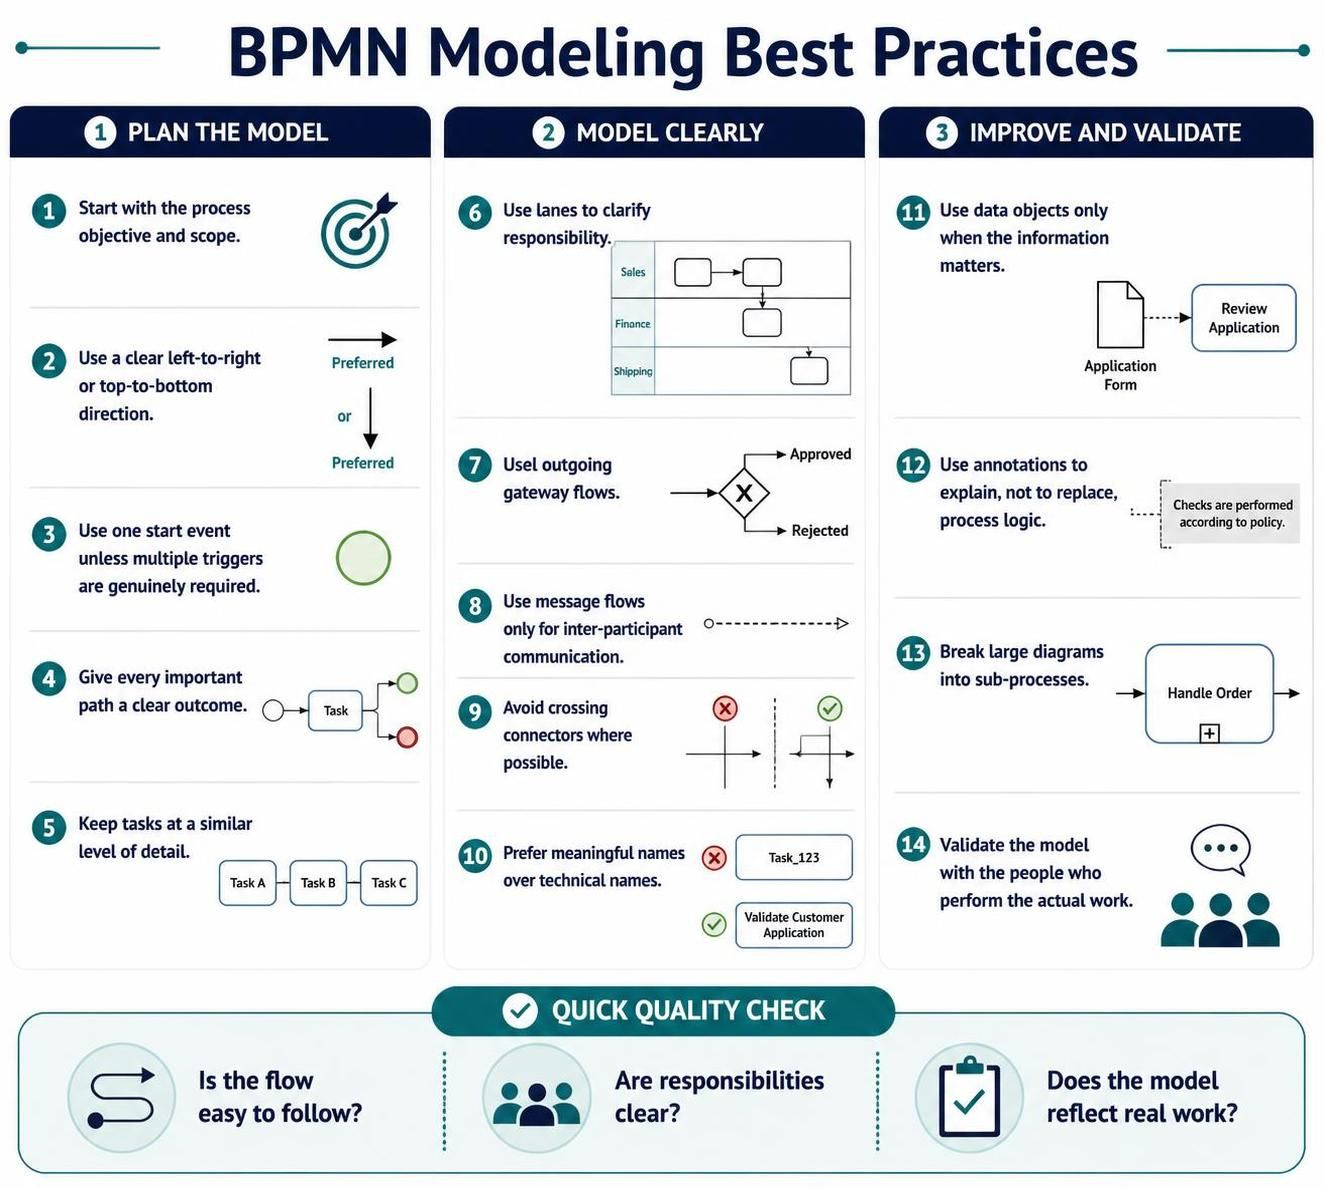
In the complex world of business process management, Business Process Model and Notation (BPMN) serves as the universal language for visualizing workflows. However, creating a diagram is only half the battle; creating a readable and actionable diagram is where the true value lies. This tutorial explores the essential best practices for BPMN modeling, ensuring your diagrams are not just technically correct, but intuitively understood by stakeholders.
Whether you are a business analyst, a developer, or a process owner, following a structured approach will help you avoid the common pitfalls of “spaghetti diagrams” and ensure your process models drive efficiency rather than confusion.
Phase 1: Planning Your Model
Before opening your modeling tool, the foundation must be laid. Good modeling starts with strategy, not syntax.
1. Define Objective and Scope
Every diagram needs a starting point. You must clearly define the process objective (what are we trying to achieve?) and the scope (where does the process start and end?). Without this, a model can easily become too broad or miss critical boundaries.
2. Establish Directionality
Readers process information naturally in a specific direction. Always adhere to a clear left-to-right or top-to-bottom flow. This reduces cognitive load and allows stakeholders to follow the narrative of the process without getting lost.
3. Control Your Start Events
A common mistake is cluttering the beginning of a process with multiple triggers. Unless a process genuinely requires multiple distinct entry points, use one start event. This simplifies the entry logic and focuses the reader on the primary trigger.
4. Ensure Clear Outcomes
A process diagram is useless if it ends in a dead end. Give every important path a clear outcome. Every path taken through a gateway should eventually lead to an end event or a logical conclusion.
5. Maintain Consistent Granularity
Consistency is key to readability. Keep tasks at a similar level of detail. If one task is “Process Order,” a subsequent task shouldn’t be “Click Submit Button.” Mixing high-level phases with microscopic clicks confuses the hierarchy of the process.
Phase 2: Modeling Clearly
Once the plan is set, it is time to build the diagram. This phase focuses on the visual and logical elements that bring the process to life.
6. Use Lanes for Responsibility
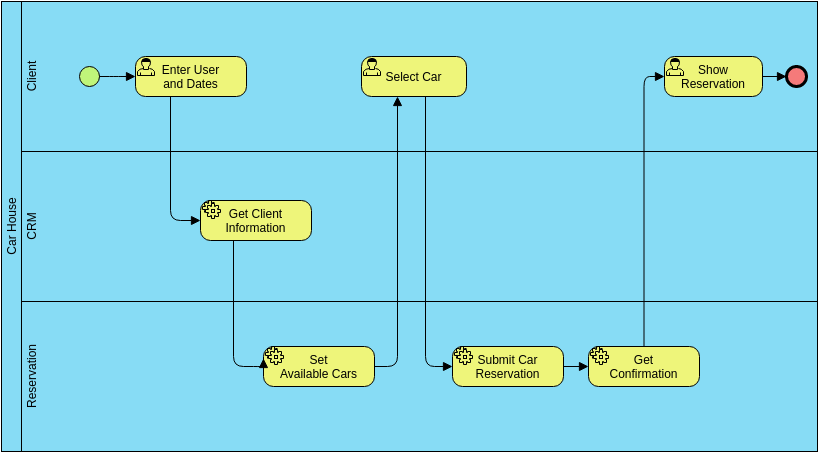
Who is doing what? The most effective way to clarify responsibility is by using lanes (Pools and Lanes). Grouping tasks by role, department, or system ensures that accountability is visually mapped to the workflow.
7. Label Your Gateways
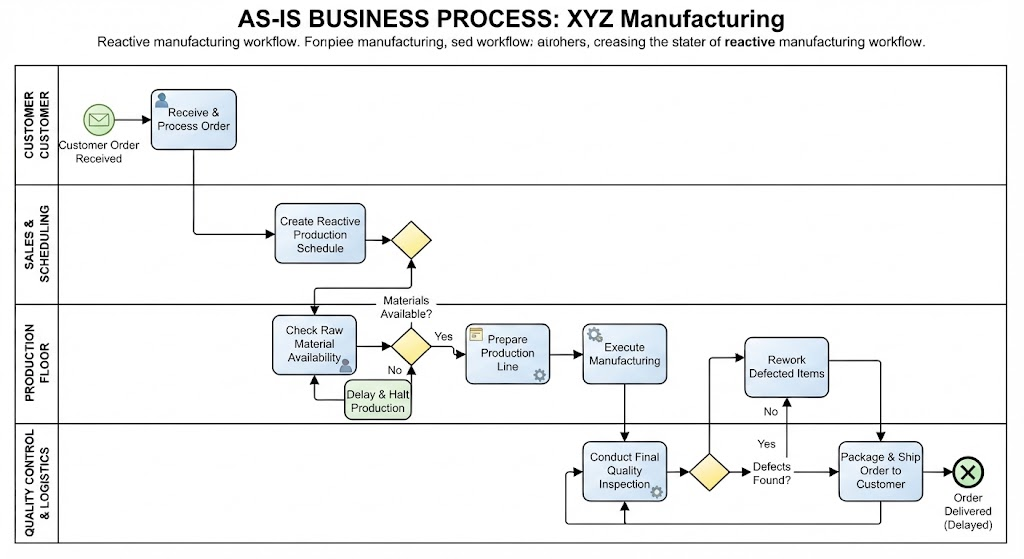
Gateways (diamonds) represent decision points. It is a critical best practice to label outgoing gateway flows. Never leave a path from a gateway unlabelled; readers must know the condition (e.g., “Approved,” “Rejected,” “Yes”) that directs the flow.
8. Distinguish Communication Types
BPMN distinguishes between internal sequence flows and external communication. Use message flows (dashed lines) only for inter-participant communication. Do not use them for internal logic, and do not confuse them with sequence flows.
9. Avoid Crossing Connectors
Visual clutter is the enemy of BPMN. Avoid crossing connectors where possible. Crossing lines create a “spaghetti” effect that makes the diagram difficult to trace. Use intermediate events or sub-processes to route flows cleanly around obstacles.
10. Prioritize Meaningful Names
While technical names (like Task123) are easy for databases to handle, they are terrible for human readers. Always prefer meaningful names over technical names. A task should be named “Validate Customer Application” rather than “CheckDB”.
Phase 3: Improving and Validating
The final stage is about refinement and ensuring the model reflects reality.
11. Use Data Objects Sparingly
Data objects (the icon of a page with a folded corner) add context, but they can also distract. Use data objects only when the information matters. If a document is not explicitly created, read, or modified in a specific way that affects the flow, leave it out of the diagram.
12. Annotations for Context
Use annotations to explain complex rules or external policies. However, remember that annotations are for explaining, not to replace, process logic. If a decision is critical, it must be modeled with a gateway, not just described in a text box.
13. Modularize with Sub-processes
If a diagram becomes too complex to view on a single screen, it is time to break it down. Break large diagrams into sub-processes. This allows you to show the “Big Picture” at a high level while keeping the details accessible in separate, manageable diagrams.
14. Validate with Frontline Workers
Finally, the ultimate test of a model is its accuracy. Validate the model with the people who perform the actual work. They know the exceptions and the “real” way the work gets done better than anyone else.
Conclusion
By adhering to these best practices—from defining a clear scope to validating with frontline staff—you ensure that your BPMN models are not just diagrams, but powerful tools for communication and improvement. Clean lines, clear logic, and meaningful labels are the hallmarks of a professional process model.
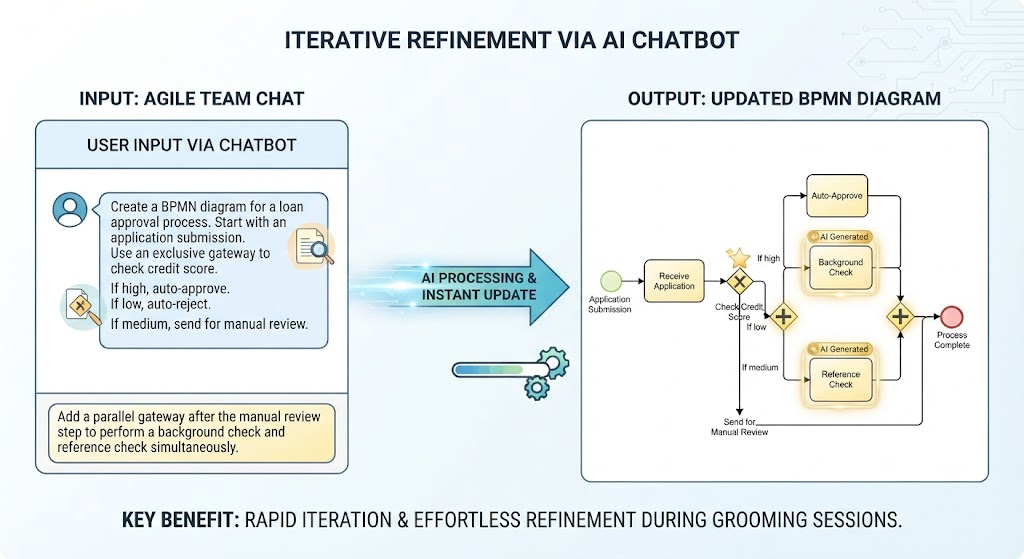
To achieve these standards efficiently, we highly recommend utilizing the Recommended tooling of Visual Paradigm BPMN and AI. These integrated solutions provide intelligent modeling assistants and AI-driven layout features that automate the cleanup process, allowing you to focus on the logic and strategy of your business processes rather than the manual alignment of connectors.