


In the world of Business Process Model and Notation (BPMN), precision is paramount. To communicate complex business workflows effectively, modelers must master the fundamental building blocks of the notation. The most critical of these is the Task. Whether you are mapping out a simple administrative procedure or a complex enterprise system, understanding how to define, specialize, and annotate tasks is the foundation of successful process modeling.
This tutorial explores the anatomy of a BPMN Task, breaking down its atomic nature, specialized variations, and the strategic use of markers to add context without cluttering your diagrams.
1. The Atomic Nature of a Task
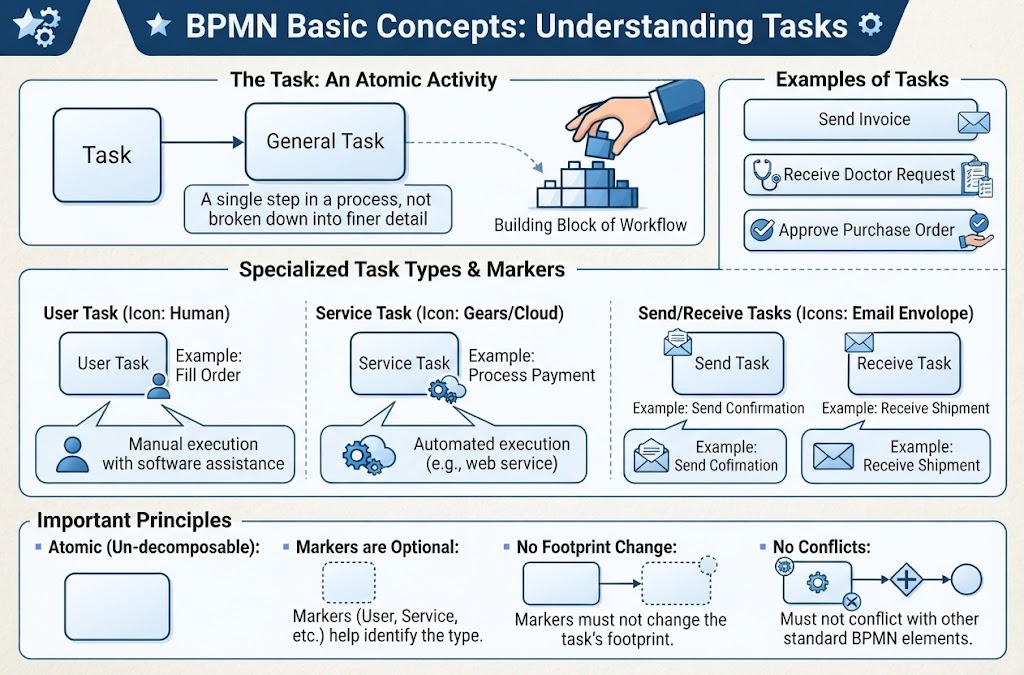
At the heart of every process diagram lies the concept of the Task. It is the smallest unit of work that can be modeled at a specific level of abstraction. Think of a task as an “atomic” activity—meaning it cannot be divided further within the context of the current diagram.
When you are designing a high-level process, a Task represents a single step that is treated as a black box. It is a “Building Block of Workflow” because it encapsulates a distinct piece of work without requiring you to draw out the internal mechanics of that work. If the work requires a sub-process or a finer level of detail, it would be broken down into a sub-process; if not, it remains an atomic Task.
Visual Representation: In standard BPMN, a generic Task is represented by a rectangle with rounded corners.
2. Specialized Task Types
While the generic Task shape is versatile, relying solely on it often leads to ambiguity. Does this task involve a human? Is it automated by a script? Does it involve sending a message? BPMN solves this by offering specialized icons that communicate how the work is performed.
The Spectrum of Task Types
- User Task: This is a task performed by a human actor, typically with the assistance of a software application.
- Example: “Fill Order” or “Approve Purchase Order.”
- Iconography: Usually marked with a small “user” or “person” icon in the top-left corner.
- Service Task: A task performed automatically by a system, web service, or software application, requiring no human interaction.
- Example: “Process Payment” or “Update Inventory.”
- Iconography: Often marked with a gear or cloud icon.
- Send Task: An automated activity that sends a message to another participant (such as another system or organization).
- Example: “Send Invoice.”
- Iconography: Marked with an envelope icon pointing outward.
- Receive Task: An automated activity that waits for a message to arrive.
- Example: “Receive Doctor Request” or “Receive Shipment.”
- Iconography: Marked with an envelope icon pointing inward.
- Script Task: A task where the logic is executed by a script engine (e.g., a Python or Java script).
3. Markers and Icons: Adding Context Without Clutter
BPMN uses markers to provide additional context without changing the fundamental shape of the element. These are small icons placed inside the Task rectangle.
Common Markers
- Loop Marker: Indicates that the task repeats (represented by a circular arrow). This implies the task runs multiple times until a condition is met.
- Multi-Instance Marker: Indicates that the task runs in parallel or sequentially for multiple instances (represented by three vertical lines). This is useful for batch processing.
- Compensation Marker: Indicates that the task is used to undo changes if a failure occurs (represented by a pair of arrows). This is often used in long-running processes.
Crucial Rule: Markers must never change the footprint (size or shape) of the Task. They are purely additive information and must not conflict with other standard elements.
4. Implementation Guide: Visual Paradigm (VP)
Implementing these concepts efficiently is key to maintaining clean diagrams. Visual Paradigm (VP) offers a robust environment to handle these details automatically. Here is a step-by-step workflow for creating and managing tasks:
Step 1: Creating the Basic Task
- Open your BPMN Diagram in Visual Paradigm.
- Navigate to the BPMN Shape Repository (typically located in the left sidebar).
- Drag and drop the generic Task shape onto the canvas.
- Double-click the shape to rename it (e.g., “Send Invoice”).
Step 2: Converting to Specialized Tasks
Instead of manually drawing different shapes, you can toggle task types instantly to maintain consistency.
- Select your generic Task shape.
- Look for the Resource Catalog icon (a small arrow or resource icon) appearing at the top-right corner of the selected shape.
- Click it and select Change Type.
- Choose the specific type required, such as
Send Task,Receive Task, orUser Task. - Note: If you select “User Task,” VP will automatically add the “user/person” icon to the top-left of the rectangle, matching standard conventions.
Step 3: Adding Markers
To indicate loops or multi-instances, avoid drawing custom icons. Use the property panels instead:
- Select the Task.
- Open the Format Panel (usually on the right side).
- Under the BPMN tab or Shape Properties, look for checkboxes labeled Loop, Multi-instance, or Compensation.
- Checking these boxes will instantly render the correct standard marker inside the task boundary without requiring manual drawing.
By mastering these concepts and utilizing the features of your modeling tool, you ensure that your BPMN diagrams are not just visually appealing, but technically accurate and universally understandable.
Related posts:
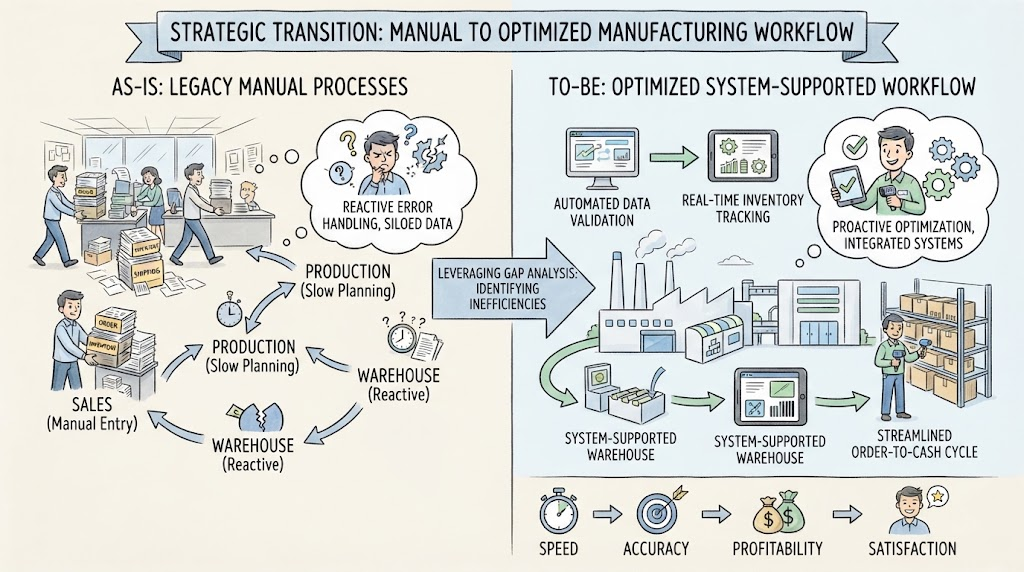 Navigating the Strategic Transition: From Manual Chaos to Optimized Efficiency
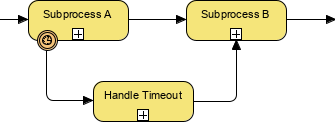 BPMN Diagram Subprocess Timeout Handling
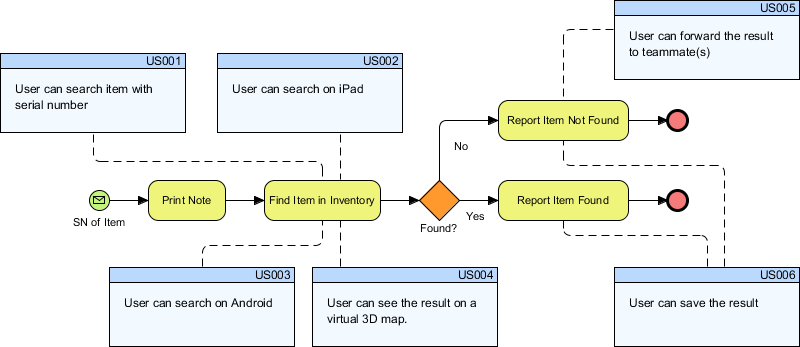 Bridging the Gap: Integrating BPMN Process Flows with Agile User Stories in Visual Paradigm
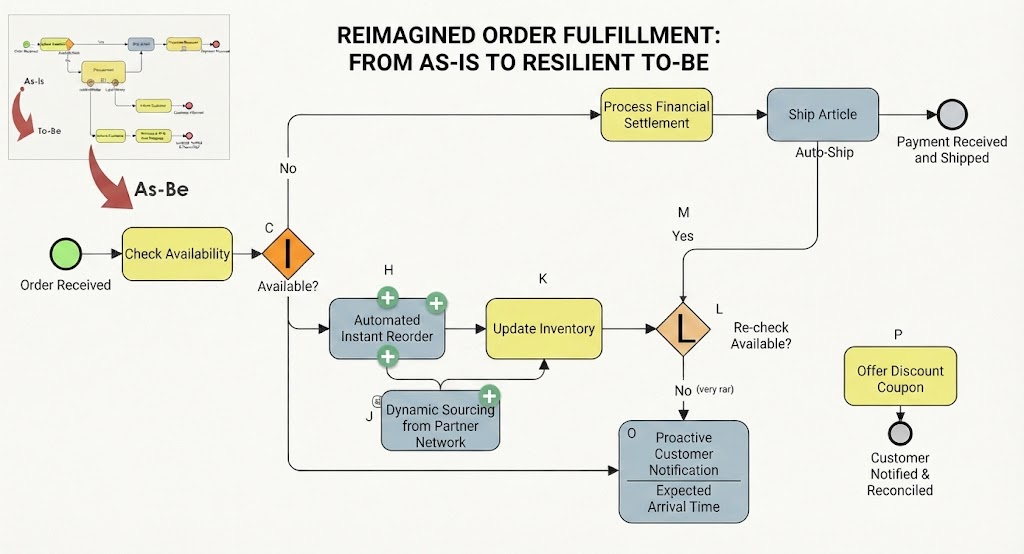 Reimagining Business Resilience: A Visual Guide to the As-Is vs. To-Be Order Fulfillment Architecture