


In the realm of software engineering, the ability to visualize system architecture is just as critical as writing the code itself. One of the most fundamental building blocks of Object-Oriented Design is the UML Class Diagram. This diagram provides a static view of the system, detailing the system’s classes, their attributes, operations, and the relationships among objects.
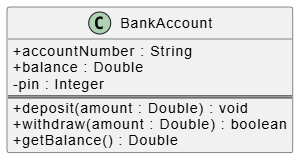
This tutorial explores the standard 3-compartment class structure using a practical example: the BankAccount class. We will walk through the theoretical underpinnings of this model and demonstrate how to implement it efficiently using Visual Paradigm, a professional tool that bridges the gap between design and development.
Understanding the Anatomy of a Class
Before diving into the software, it is essential to understand the standardized structure of a UML class. In Visual Paradigm, a class is represented as a rectangle divided into three distinct compartments. This layout is not arbitrary; it represents a hierarchy of information essential for defining an object’s identity and behavior.
1. The Identity: Class Name
The top compartment is reserved for the Class Name. This is the most critical element of the diagram. According to UML standards, the class name should be capitalized (e.g., BankAccount). In Visual Paradigm, this area often includes a small icon (like the ‘C’ for Class) to visually distinguish it from interfaces or other elements.
2. The State: Attributes
The middle compartment lists the Attributes. Attributes define the state or data that an instance of the class holds. In our BankAccount example, the state is defined by:
accountNumber: A unique identifier for the customer.balance: The current financial status of the account.pin: A security credential.
Notice the use of visibility modifiers in front of each attribute: + for public and - for private. This notation is vital for defining encapsulation.
3. The Behavior: Operations
The bottom compartment lists the Operations (often called methods or functions). These define what the object can do. For a bank account, the behavior includes depositing funds, withdrawing funds, and checking the balance.
Implementing the Model in Visual Paradigm
Visual Paradigm (VP) streamlines the creation of these diagrams, moving away from text-based coding to a visual drag-and-drop interface. Below is a step-by-step guide to building the BankAccount class shown in the diagram.
Step 1: Initialize the Environment
Begin by opening Visual Paradigm and creating a new project. Navigate to the Create Diagram menu and select Class Diagram. This action opens the blank canvas where your architecture will take shape.
Step 2: Adding the Class
Locate the Palette on the left side of the screen. Find the Class shape. Drag this shape onto your canvas. You will see a default rectangle appear, ready for configuration.
Step 3: Defining the Identity
Double-click on the top compartment of the shape to rename it. Enter BankAccount. Visual Paradigm is smart enough to automatically format the text as bold, adhering to standard UML notation conventions. This ensures your diagram looks professional immediately.
Step 4: Configuring Attributes (The Middle Section)
To populate the state of the object:
- Right-click on the
BankAccountclass shape. - Select Add > Attribute from the context menu.
- In the dialog box that appears, enter the attribute details. You can type the name, type, and visibility directly, or edit them after creation.
Repeat this process to add the three required attributes:
+ accountNumber : String+ balance : Double- pin : Integer
Note the difference in visibility: accountNumber and balance are public (+), while pin is private (-), reflecting real-world security requirements.
Step 5: Configuring Operations (The Bottom Section)
Now, define the behaviors of the class:
- Right-click the class again.
- Select Add > Operation.
Enter the operation signatures. Visual Paradigm allows you to define parameters and return types easily:
+ deposit(amount : Double) : void+ withdraw(amount : Double) : boolean+ getBalance() : Double
Why Visual Paradigm Matters
While text-based tools like PlantUML are powerful, Visual Paradigm offers a distinct advantage: Visual Consistency and Engineering.
When building the BankAccount model manually, it is easy to make formatting errors or forget visibility modifiers. Visual Paradigm enforces UML standards automatically. The tool renders the three compartments with proper formatting, ensuring that your diagram is readable and professional.
Furthermore, this visual approach allows for Intuitive Dialogs. Instead of memorizing syntax strings, you interact with property panels to modify visibility, types, and other properties. This reduces the cognitive load on the developer, allowing them to focus on the logic of the system architecture rather than the syntax of the diagram.
By mastering these steps, you are not just drawing a diagram; you are defining the blueprint for robust, object-oriented software.
Related posts:
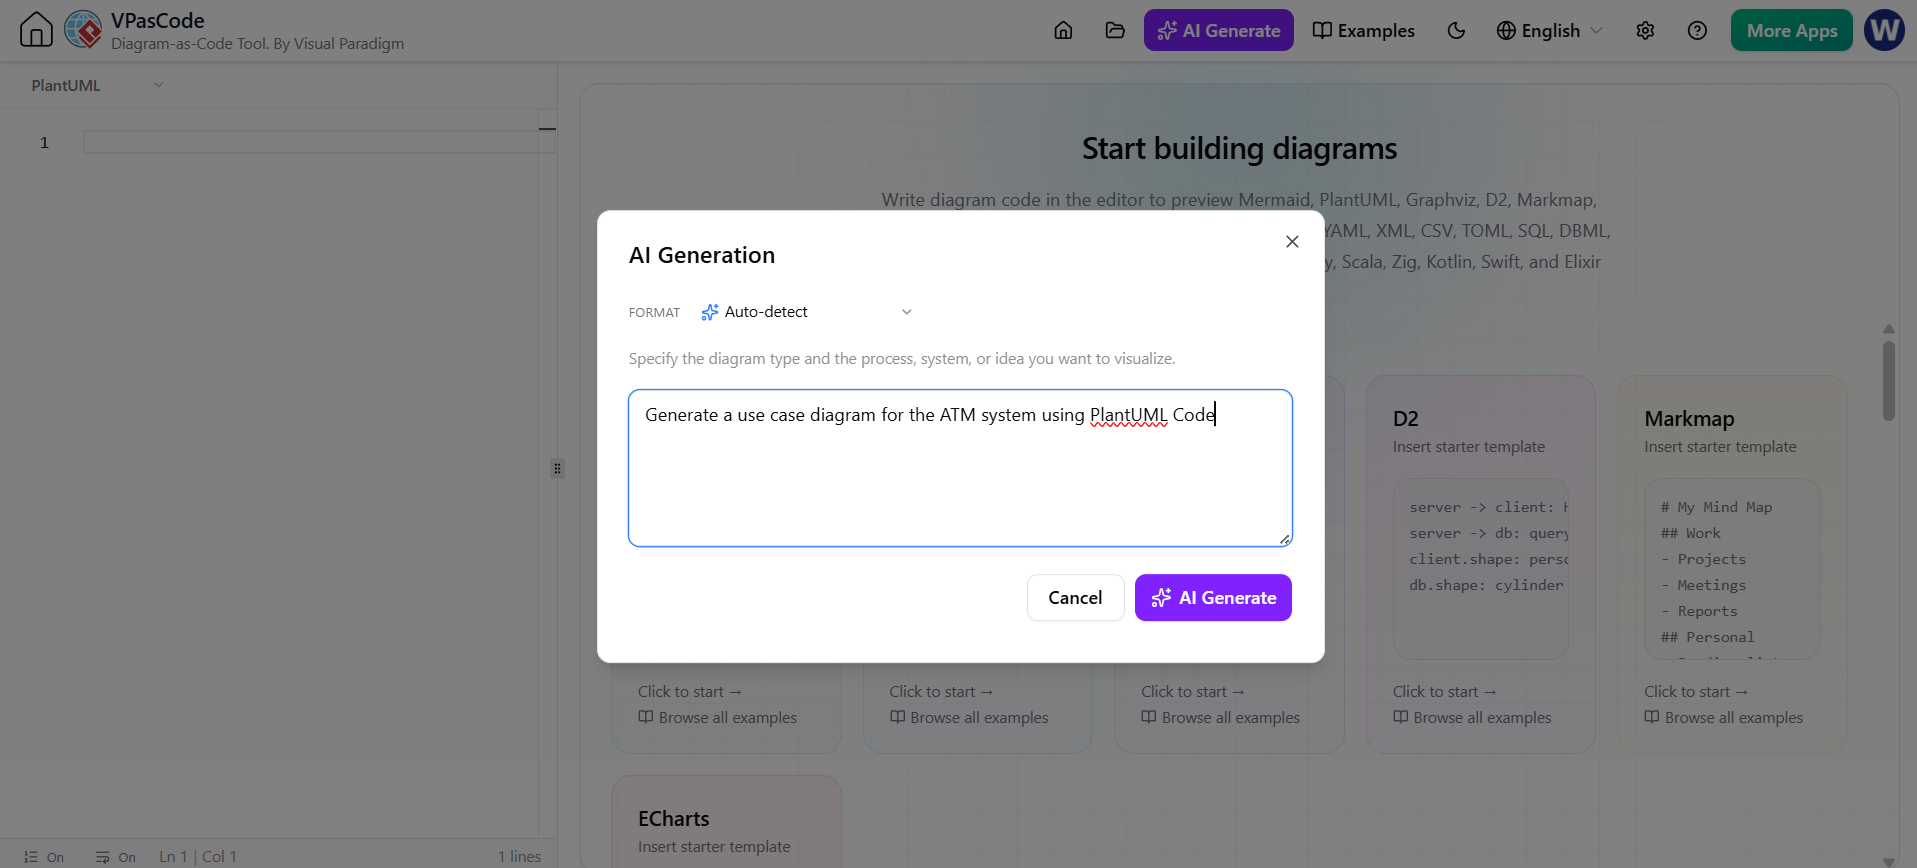 Revolutionizing System Modeling: The Power of Instant AI Diagram Generation
 The Evolution of UML: Mastering the Modern Architecture Stack from Drag-and-Drop to Diagrams as Code
 Mastering System Design: A Deep Dive into Visual Paradigm Community Edition
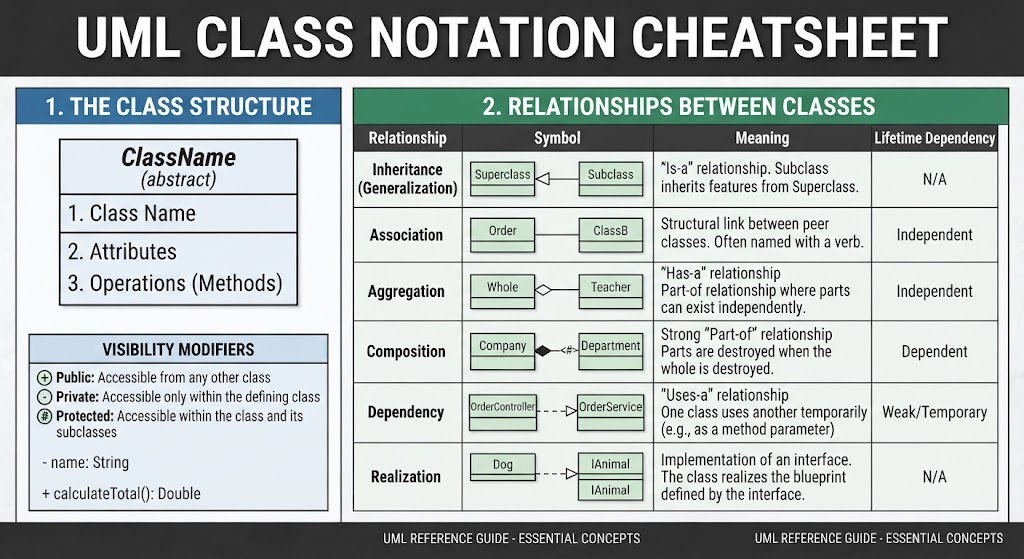 Mastering UML Class Diagrams: A Comprehensive Guide to Structure and Relationships